

Understand what the formation needs.
Triple support wants time. Overlapping healing and defensive cooldowns let it recover from damage spread across several targets, while your team spends resources and the objective clock keeps moving. Large healing numbers describe that recovery; they do not prove the composition cannot be broken.
The trade is less offensive tempo and a frontline that must cover several jobs. Before the defensive ultimates are ready, or when walls and corners interrupt the formation's sightlines, the same sustain is harder to apply. Read those conditions before choosing how to attack rather than treating every three-support lineup as an identical problem.
What the source's support core contributes
 Luna Snow
- On-demand healing and a defensive ultimate that can halt a push.
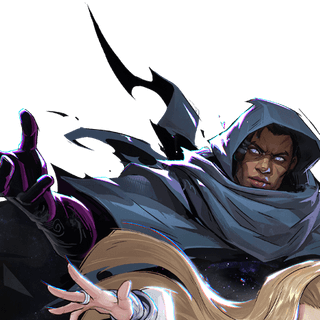 Cloak & Dagger
- Sustain, safety tools, and another fight-extending defensive ultimate.
 Invisible Woman
- Protection and disruption that make clean eliminations harder to finish.
 Loki or Mantis
- A flexible third slot that can extend ultimate value or amplify damage.
Dive one support together
Triple support can erase scattered poke, but it struggles when several threats arrive on the same target at the same time.
Staging from more than one direction makes the single Vanguard choose which entrance to cover. The target call only becomes useful when teammates are ready to arrive together. An early fight may catch the composition before several defensive ultimates are available, but a solo dive still gives the healers time to answer it. Treat a pick or a forced ultimate as a reason to reassess and take space, not permission to remain in the backline indefinitely.
Execution sequence
- Stage from more than one angle so the single Vanguard cannot mark every entry.
- Call one Strategist by name and commit together; split damage gives three healers time to recover.
- Push the first fight early, before the enemy stores multiple defensive ultimates.
- Leave after the elimination or forced ultimate instead of feeding the reset.
Hero options for this plan
 Venom
- Starts the backline collapse and absorbs attention.
 Captain America
- Keeps mobile pressure on the called target.
 Spider-Man
- Threatens isolated supports from unexpected angles.
 Psylocke
- Adds fast follow-up damage to secure the pick.
 Black Panther
- Chains mobility through a crowded backline.
Burst through the healing window
Healing only matters when a target survives long enough to receive it. Layer control and damage into one short conversion window.
The useful sequence is control followed by damage that arrives before the target can stabilize. Groot can help group the backline or separate a frontline target from healing, but the control needs prompt follow-up. Track defensive ultimates rather than sending every offensive resource into the first answer. A later window, as protection ends, may be worth more than adding another ultimate to an already defended target.
Execution sequence
- Track defensive support ultimates and avoid spending every offensive ultimate into the first one.
- Use Groot control to group the backline or wall the Vanguard away from healing sightlines.
- Pair the control window with immediate area or precision burst.
- Hold enough damage to punish the moment a defensive ultimate expires.
Hero options for this plan
 Groot
- Groups targets and uses walls to interrupt sustain.
 Moon Knight
- Punishes clustered supports with area damage.
 Iron Man
- Converts grouped targets into a high-damage window.
 Namor
- Adds reliable pressure while the backline is controlled.
Break the formation
The comp depends on overlapping range, protection, and healing. Move one piece out of the formation and the numbers stop working together.
A displaced tank or support may lose the sightlines that make the formation durable. Use corners and walls to create that separation, then help the team use the space it opens. A smaller ultimate can sometimes draw a more valuable defensive response and leave a better re-engage, but the follow-up still needs coordination. Take ground decisively when the composition gives up offensive pressure rather than spending the whole opening on another unfocused damage trade.
Execution sequence
- Displace the Vanguard away from the supports, or pull a support out of the healing triangle.
- Fight around walls and corners that interrupt line of sight between the frontline and backline.
- Use a low-cost ultimate to force a premium defensive response, then re-engage.
- Capitalize on the comp’s reduced pick pressure by taking space decisively.
Hero options for this plan
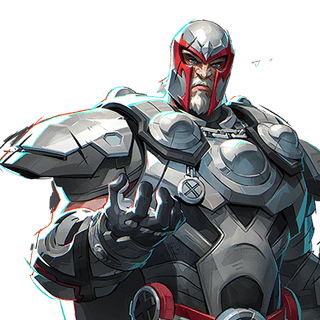 Magneto
- Threatens squishies and punishes post-ultimate timing.
 Thor
- Bullies the frontline or dives with displacement and burst.
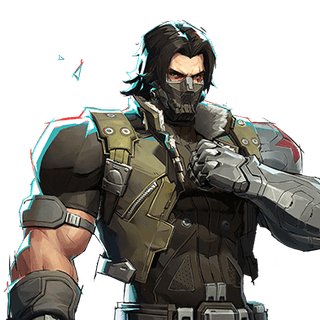 Winter Soldier
- Hooks a target away from support sightlines.
 Wolverine
- Removes the Vanguard from the formation more consistently.
Run the same four checks.
Whichever plan you choose, connect preparation to the next team action. A target call, a burst window and a safe reset are parts of the same engagement.
- Before. Identify the most reachable support and count defensive ultimates.
- Entry. Attack from two angles and call the same target.
- Convert. Layer control and burst before healing can stabilize the target.
- Reset. After a pick or forced ultimate, take space without donating stagger deaths.
Avoid giving the sustain loop more time.
Use these as replay checks. Each mistake gives the defensive formation another chance to recover without making it solve a coordinated threat.
- Poking three different targets and charging three support ultimates.
- Sending one diver into the backline without synchronized follow-up.
- Stacking every offensive ultimate into the first defensive response.
- Ignoring the objective and letting the defensive composition win through time.
- Treating high healing numbers as proof the composition cannot be broken.
Hypothetical: the first defensive ultimate is forced.
Your team stages two angles and commits to the same reachable support. The enemy spends a defensive ultimate to stabilize. Continuing to add every offensive ultimate would repeat the resource trap the plan was meant to avoid.
If the objective and escape routes allow it, leave the defended exchange together and prepare the next window. Keep enough damage and control to threaten as protection ends. If a contest deadline removes that option, make that constraint part of the call rather than assuming a reset is always free.
Try this next match
Agree on one target and one response to the first defensive ultimate before engaging. Review whether teammates arrived together and whether the next move used the resource you forced, instead of donating staggered deaths.
Source and limitations
Adapted from How to Counter the Triple Support Meta in Marvel Rivals by Lawrence at Dignitas, published March 9, 2025. The original examples are the source's advice, not current matchup measurements or a guarantee that a hero choice wins the fight.